DV photo guide
How to prepare a DV Lottery photo that meets the requirements
A Diversity Visa photo has two separate sets of requirements. First, the digital file must have the correct format, dimensions, shape, and file size. Second, the person, background, lighting, and composition must follow the official photo rules. Passing only the technical checks is not enough: a correctly sized JPEG can still be rejected if the face is positioned incorrectly, the background is unsuitable, or the image has been altered.
1. Start with a recent, clear color photo
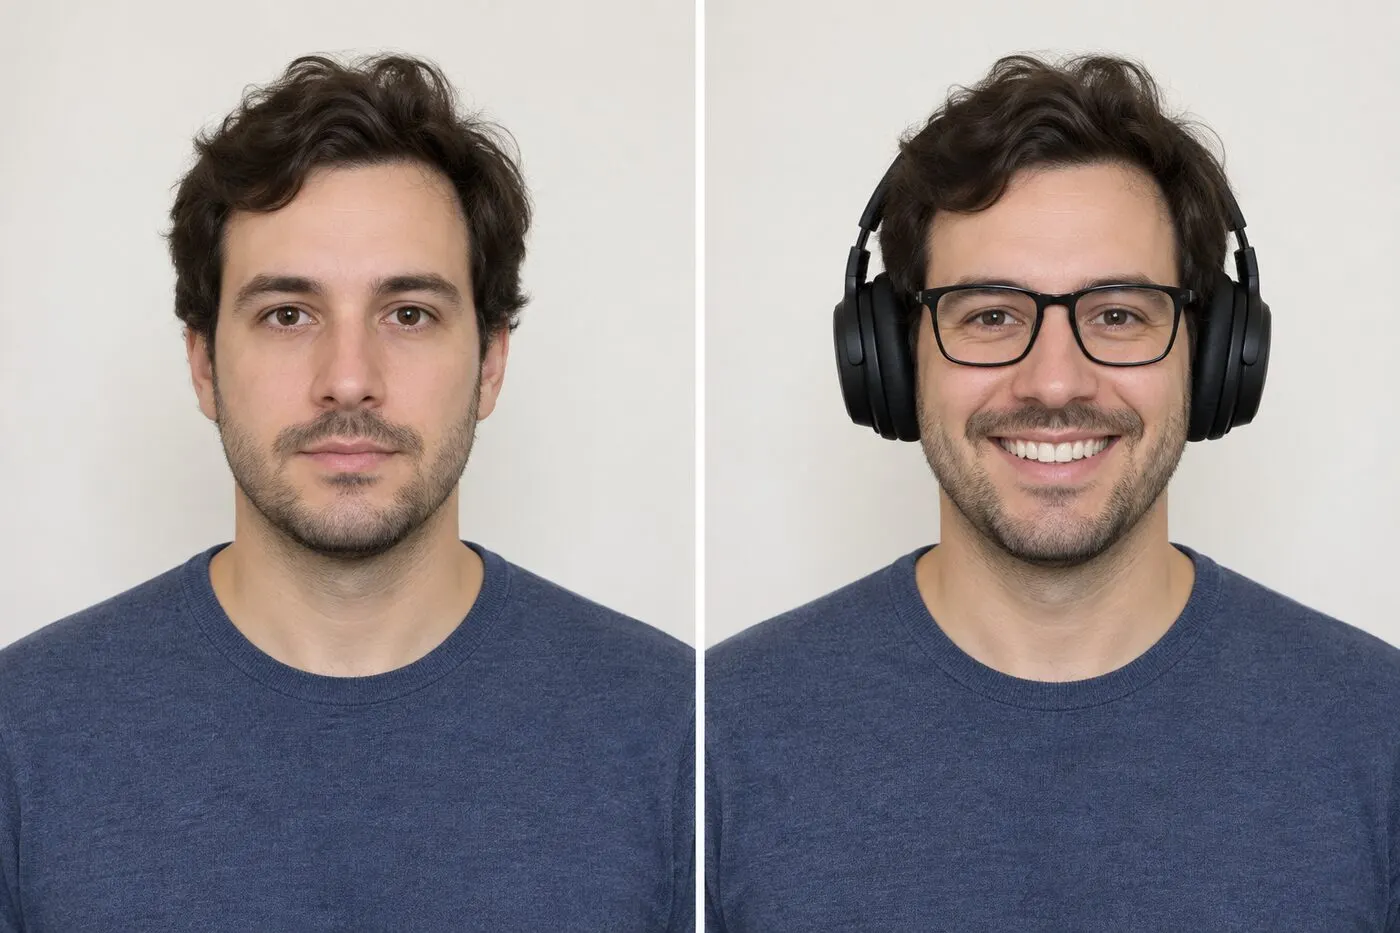
Use a color photograph taken within the last six months that reflects your current appearance. Face the camera directly and keep a neutral expression with both eyes open. Wear the clothing you normally use each day. Uniforms are generally not appropriate, except for religious clothing worn daily. Eyeglasses are not permitted in a new visa photo except in limited medical circumstances supported by a signed medical statement.
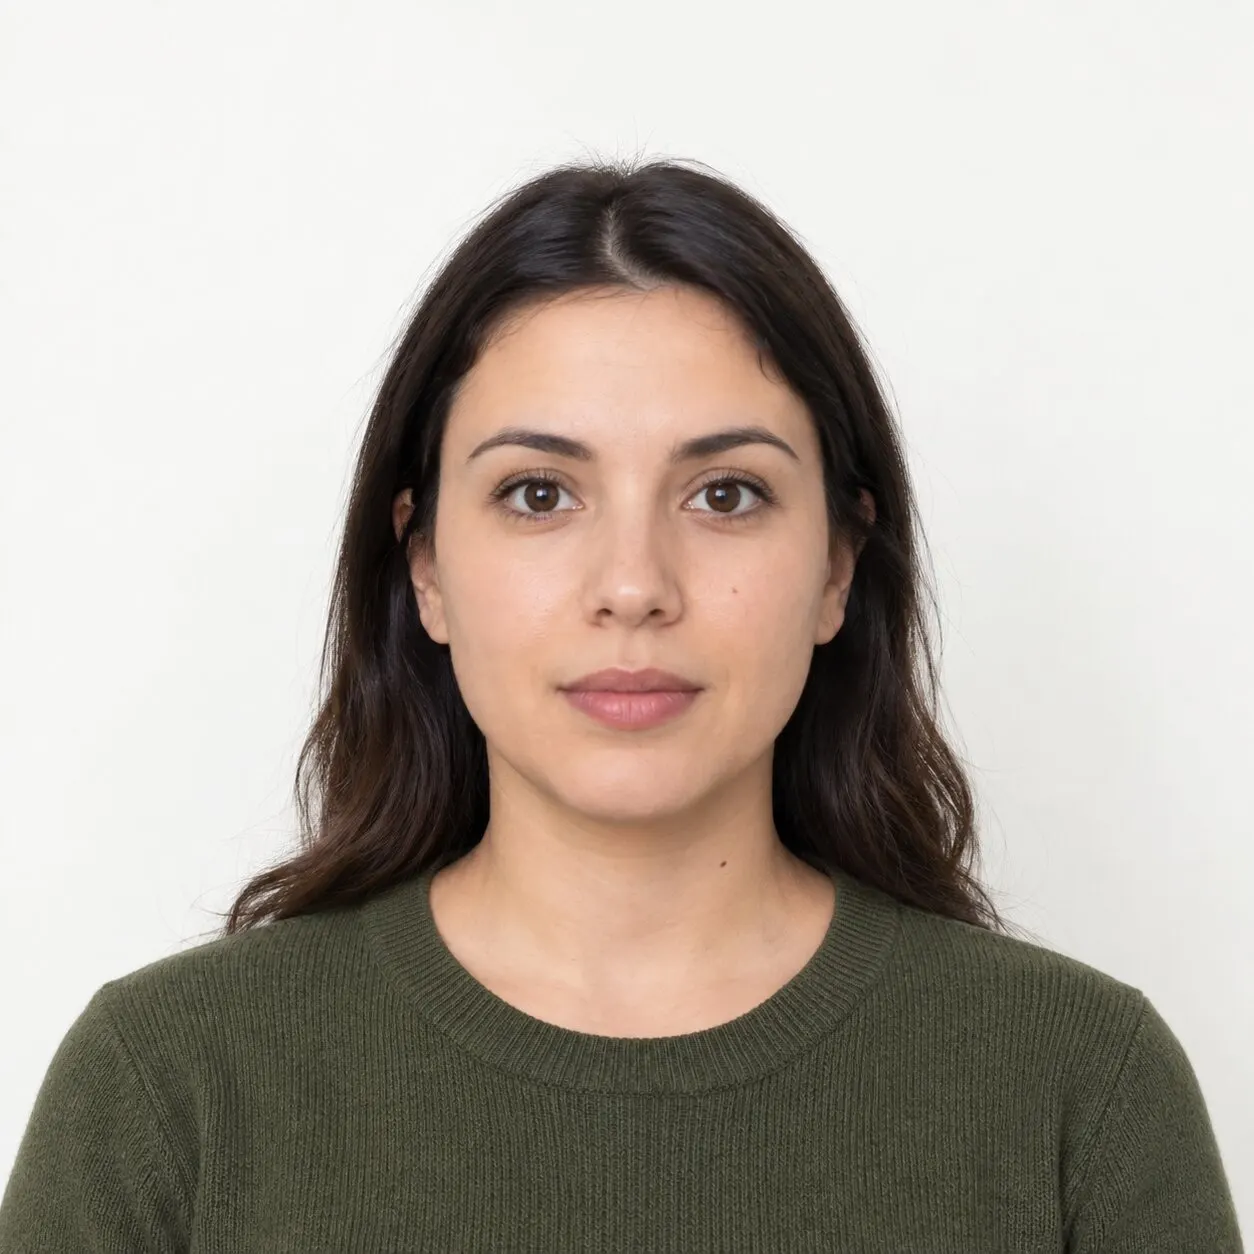
2. Use a plain white or off-white background
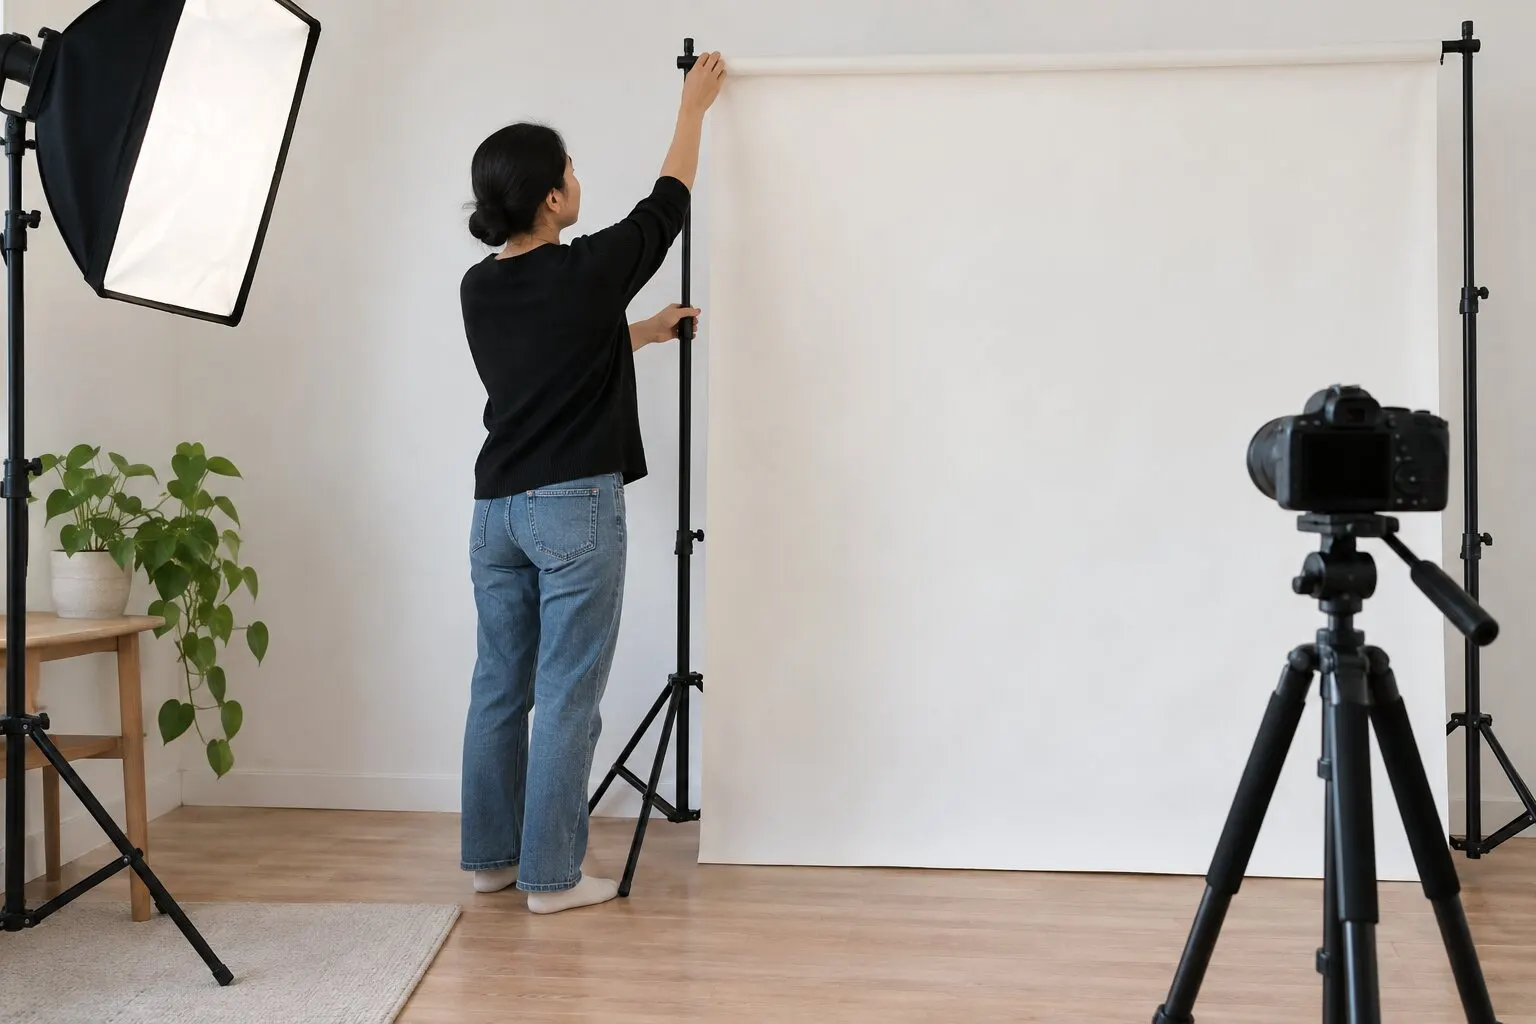
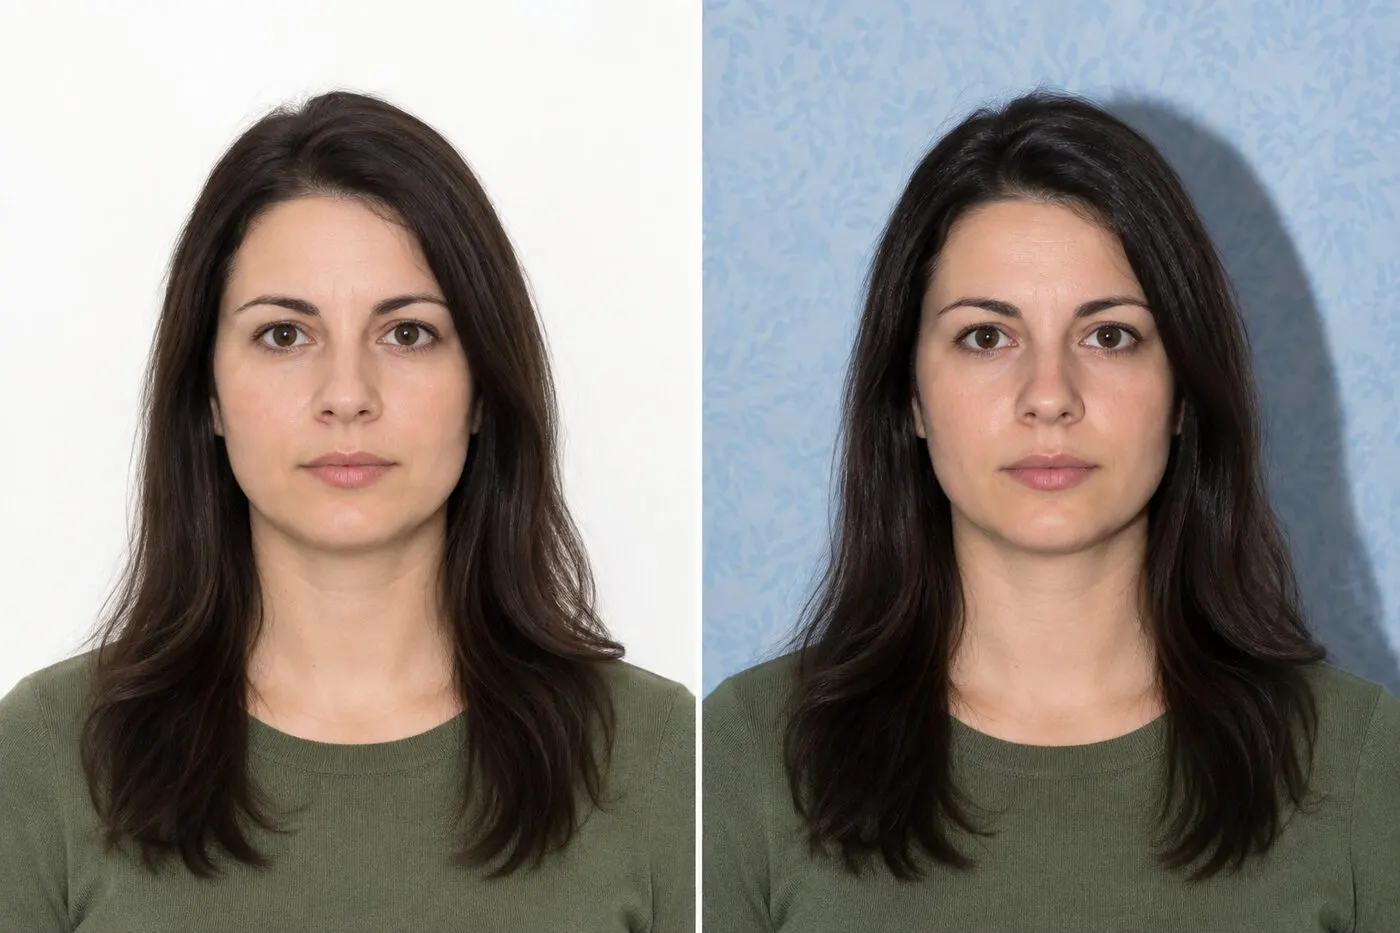
Stand in front of a clean white or off-white background with even lighting. Avoid visible patterns, objects, strong shadows, and colored walls. Your full face must remain visible. A religious head covering may be worn when it is part of your daily practice, but it must not obscure the face or create shadows across it. Headphones and wireless hands-free devices should be removed.
Visual examples
Right and wrong DV photo examples
Use these illustrations to spot common problems before uploading. They show one issue at a time so the difference is easy to see. They are preparation examples, not official government photographs, and a similar-looking photo is not guaranteed to be accepted.
3. Crop the photo to a square before resizing
The DV entry system requires a square image, meaning the width and height must be equal. If your original photo is rectangular, crop it to a 1:1 ratio first. Do not stretch a rectangular picture into a square because stretching can distort the face. For a DV entry, save the final square image at exactly 600 × 600 pixels. The automatic fix above does this crop and resize for you.
Pixels and file size are different.
“600 × 600 pixels” describes the DV entry image dimensions. “240 KB or less” describes how much storage the file uses. A photo can have the correct dimensions and still be too large, so both items must pass independently.
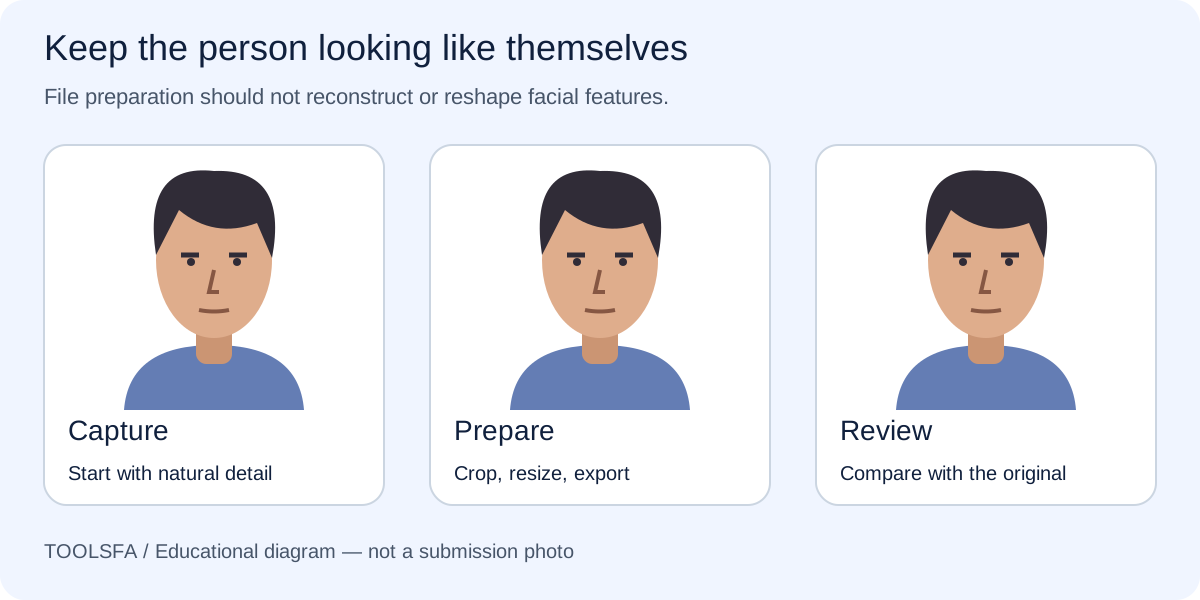
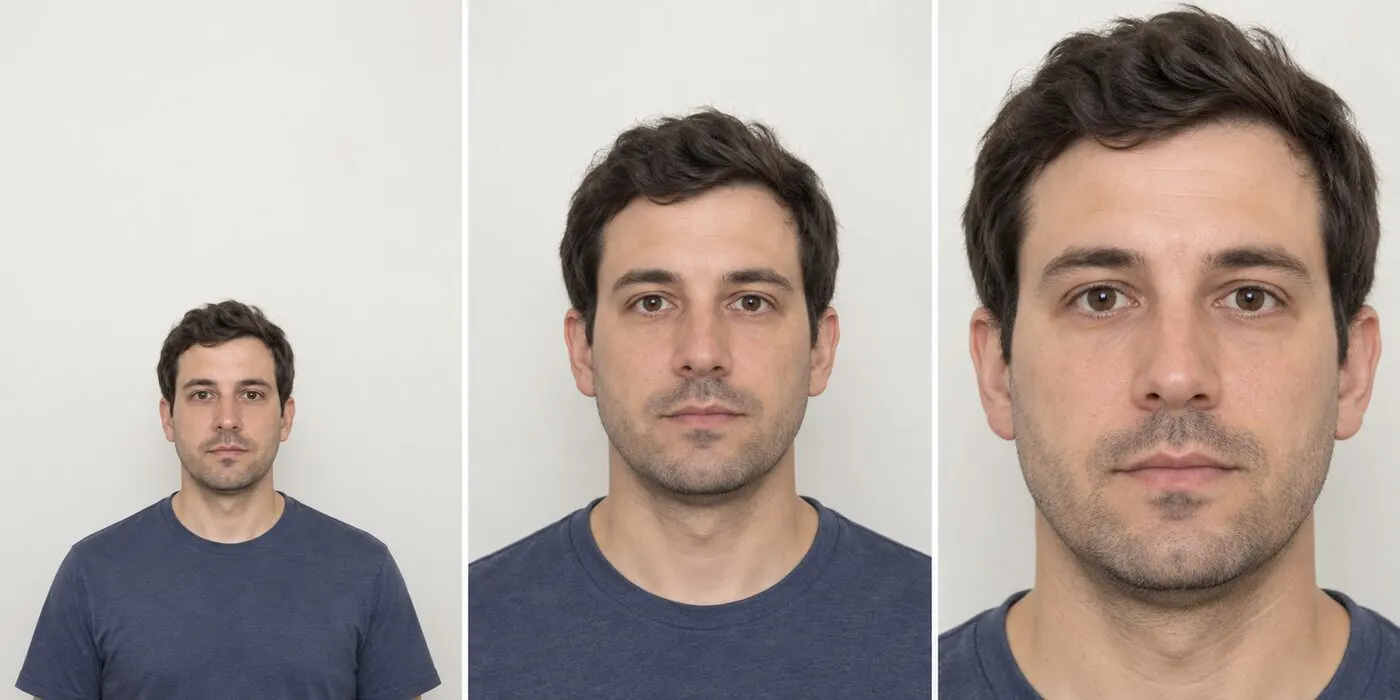
Crop around the person while preserving natural facial proportions. Resizing should not stretch or reshape the face.
Educational diagram; not an official government example.
See the crop and image-size guide →4. Check the head size and position
The head — from the bottom of the chin to the top of the head, including hair — should occupy between 50% and 69% of the total image height. On the required 600-pixel image that is roughly 300 to 414 pixels. Your eyes should sit between 56% and 69% of the way up from the bottom edge. Leave enough space around the head, keep it centred, and make sure the complete face is visible. The checker above measures both of these from your photo and reports estimated percentages. Review the crop yourself, because automated measurements can be inaccurate.
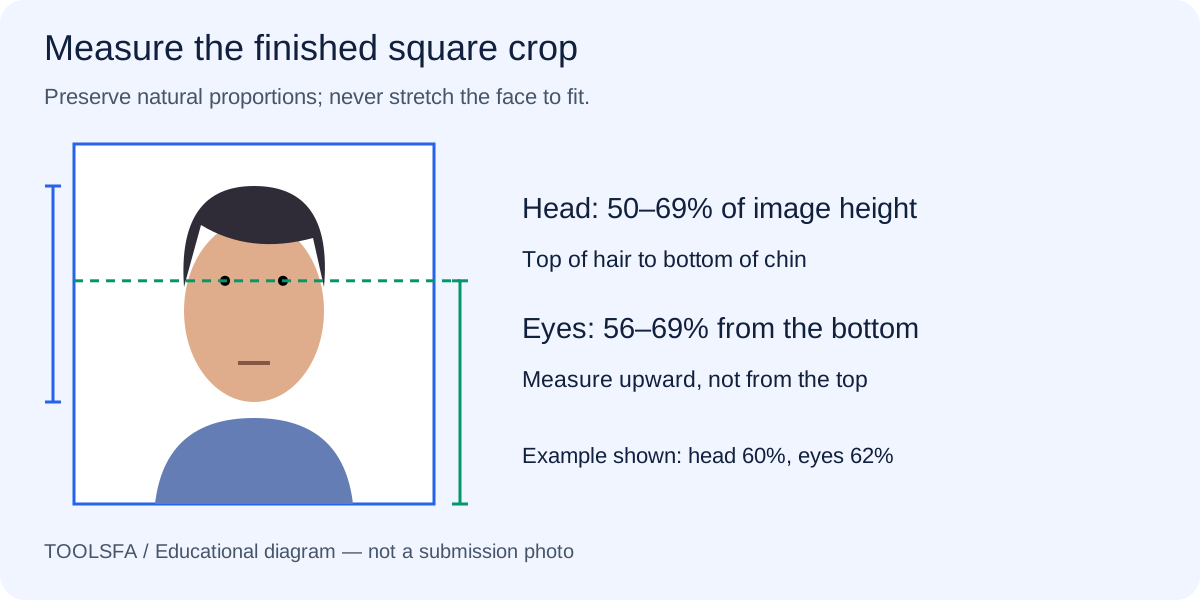
Measure the finished crop: head height is 50–69% of image height, and the eye line is 56–69% above the bottom edge.
Educational diagram; not an official government example.
Understand head size and eye position →5. Save the final image as a JPEG under 240 KB
Export the completed photo as a JPEG file using the .jpg or .jpeg extension. The final file must be no larger than 240 KB. If it exceeds the limit, reduce the JPEG quality gradually rather than shrinking the image below 600 pixels. The automatic fix does exactly this, lowering quality step by step until the file fits. Recheck the file after saving because some editing programs may change its dimensions or format during export.
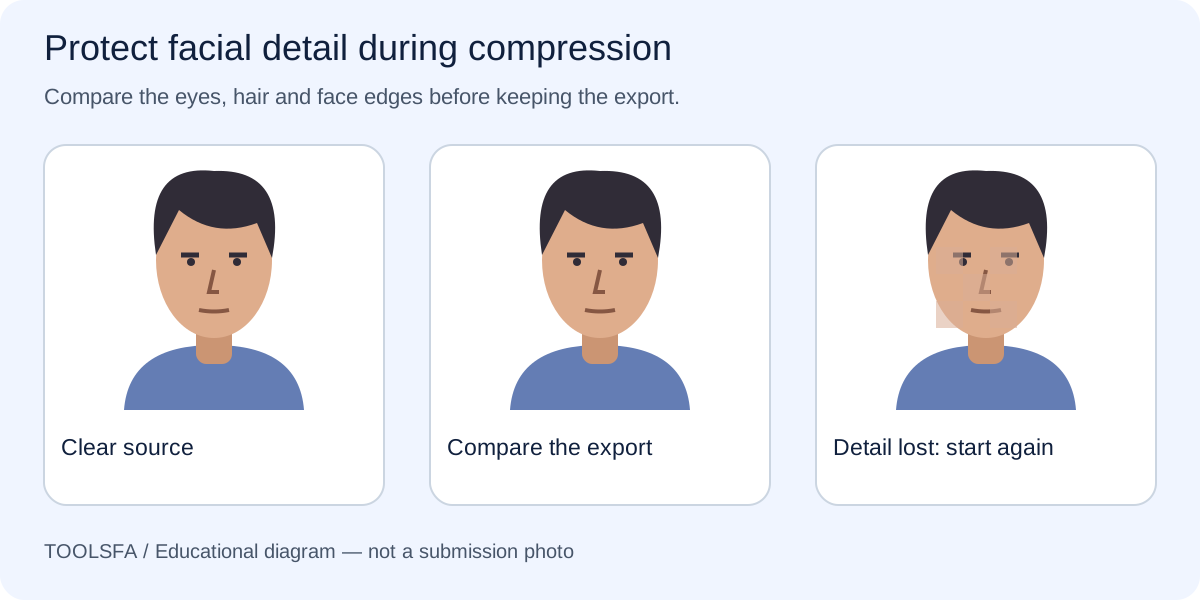
Compare the export with the original around the eyes, hair and face edges. A smaller file is only useful if it retains clear detail; this diagram is not a measured compression threshold.
Educational diagram; not an official government example.
Read the JPEG compression guide →6. Use a phone photo without using a filter
A modern phone camera can create a suitable source photo when it is used carefully. Ask another person to take the picture rather than holding the phone close to your face, use the main camera, stand at a comfortable distance and keep the camera level with your eyes. Turn off portrait blur, beauty mode, face smoothing, colour filters and AI retouching. Review the original at full size before you crop or compress it.
The final Diversity Visa entry file is still a technical deliverable: a genuine JPEG, square, exactly 600 × 600 pixels and no more than 240 KB. The checker can help prepare that final copy, but it cannot prove the date a photo was taken or make an unsuitable source photo acceptable.
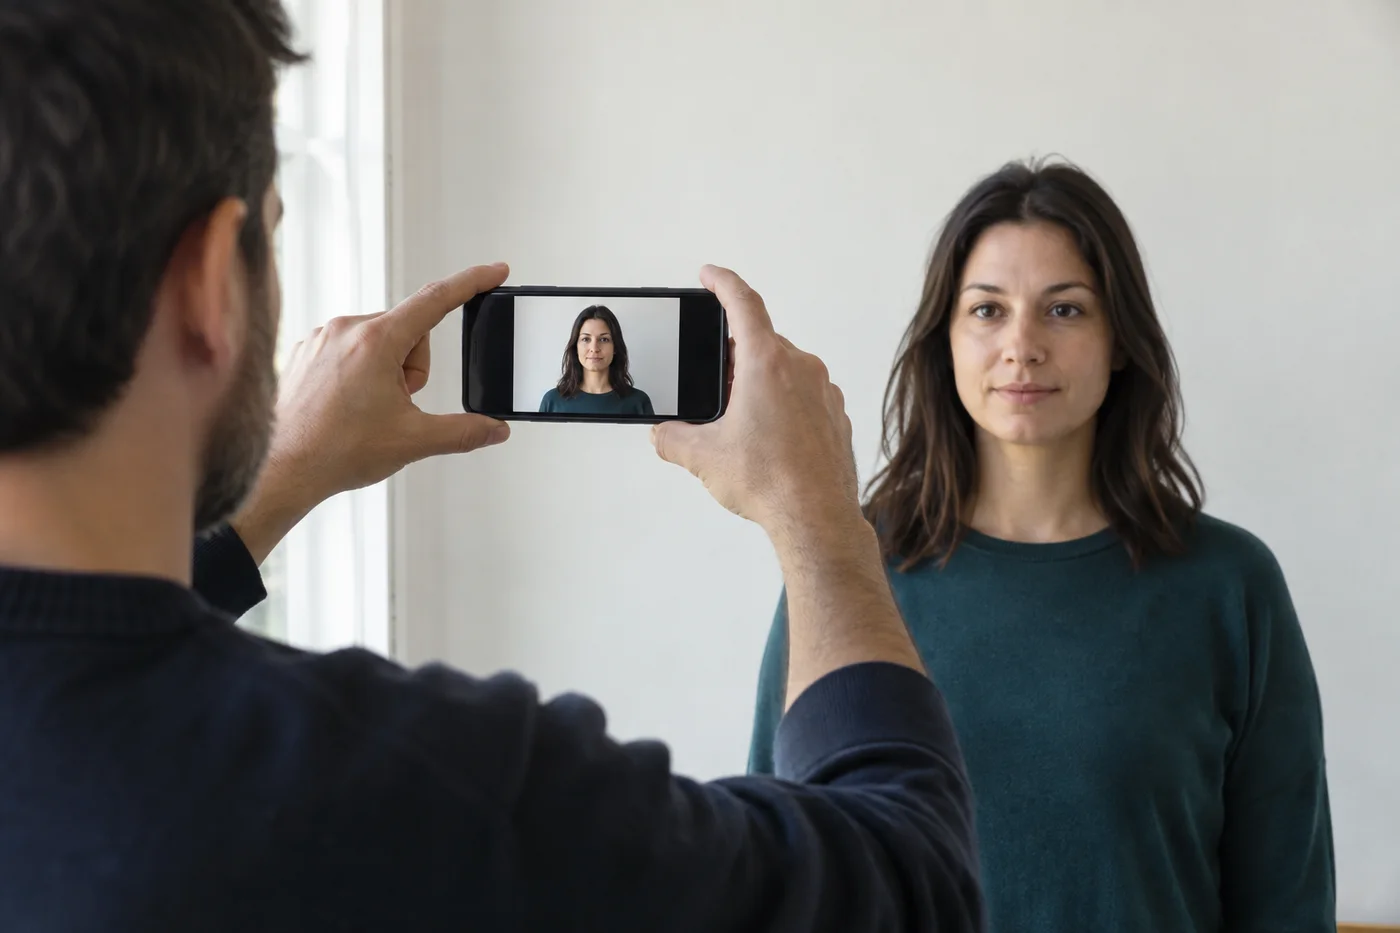
Ask someone else to hold the camera in front of you. Review the original portrait before cropping, and disable effects that change your appearance.
AI-generated educational scene; not a submission photo or official government example.
Follow the phone photography guide →Let the tool fix the photo for you
Knowing that your head fills 44% of the frame instead of 50% does not help much if you have no way to act on it. When the checker finds a problem it can repair, a button appears that does the work for you, in your browser, without uploading anything.
The automatic fix crops your photo to a square, positions your head at 60% of the image height and your eye line at roughly 62% from the bottom — the middle of each permitted range rather than the edge, so a small measurement error does not push the result back outside. It then scales the image to the largest valid square your original requires, and lowers JPEG quality step by step until the file is under 240 KB. The corrected photo is run back through every check, so you see the result before you download it.
What the automatic fix will not do.
It changes framing, dimensions and file size only. It will not whiten a coloured background, open your eyes, change your expression or retouch your face — altering an applicant’s appearance is prohibited, and a tool that did it would put your entry at risk. If the background or expression failed, you need a new photograph. The fix also refuses when there is not enough room around your head to crop correctly, or when the original is too small to reach 600 pixels honestly, because enlarging cannot add detail that was never captured.
Common reasons a DV Lottery photo fails
- The image is rectangular instead of square
- The image is not exactly 600 × 600 pixels
- The JPEG file is larger than 240 KB
- The face is too close, too small, or off-center
- The background is colored, patterned, or shadowed
- The applicant is wearing eyeglasses or headphones
- The expression is not neutral or the eyes are closed
- The image was digitally altered to change appearance
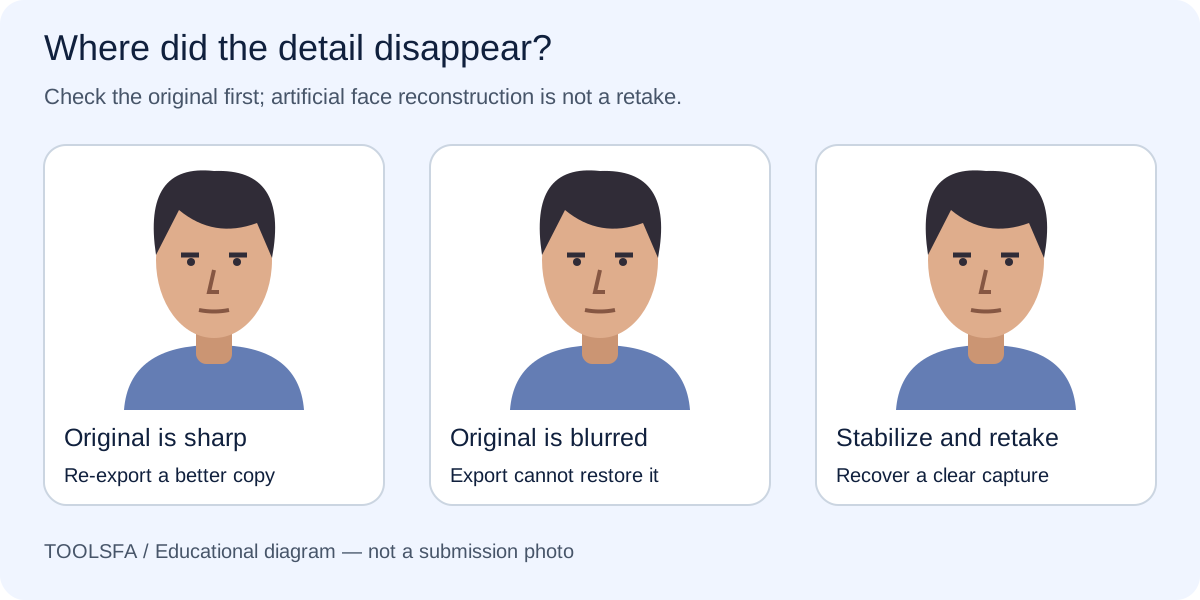
If the source is clear but the export is soft, return to the original. If the original itself is blurred, improve the capture and take another photo.
Educational diagram; not an official government example.
Diagnose blur and pixelation →Final check before submitting your DV entry
Run the final JPEG through the free checker above and confirm every visual requirement yourself. Keep the original photograph and your final file in a safe location. Do not rely on a technical pass as a guarantee of approval: the U.S. Department of State decides whether a submitted photo is acceptable. Always review the current official instructions before completing your Diversity Visa entry.
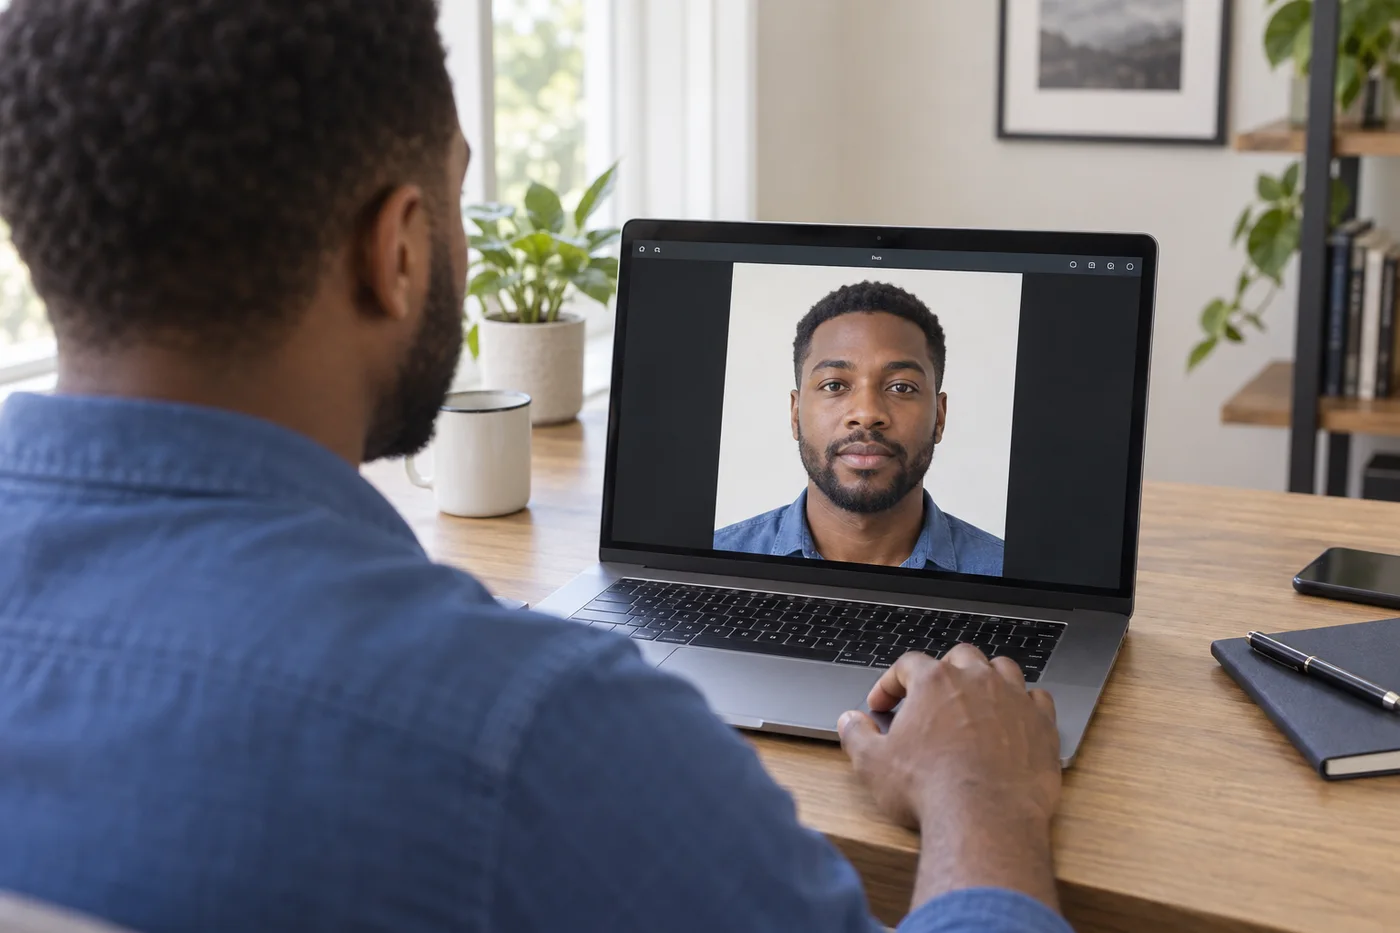
Open the actual saved JPEG and inspect the portrait, dimensions and file size before choosing it for upload. A technical pass does not guarantee government acceptance.
AI-generated educational scene; not a submission photo or official government example.
Review the upload troubleshooting checklist →