Blur and pixelation
Blurry or Pixelated DV Photo? Find the Cause Before Fixing It
Blur can come from the camera, the person moving, a poor download or repeated compression. Finding where detail disappeared helps you avoid editing a file that cannot be repaired reliably.
Reviewed against U.S. Department of State photo guidance · September 14, 2026
Practical review checklist
| Check | Action | Why it matters |
|---|---|---|
| Original sharp; export soft | Re-export the original | Check compression and dimensions |
| Original out of focus | Refocus and retake | Stabilize the camera |
| Directional smear | Reduce motion during capture | Improve soft light |
| Tiny source enlarged | Find the original or retake | More pixels do not restore detail |
On smaller screens, swipe horizontally to see every column.
Compare the original and the download
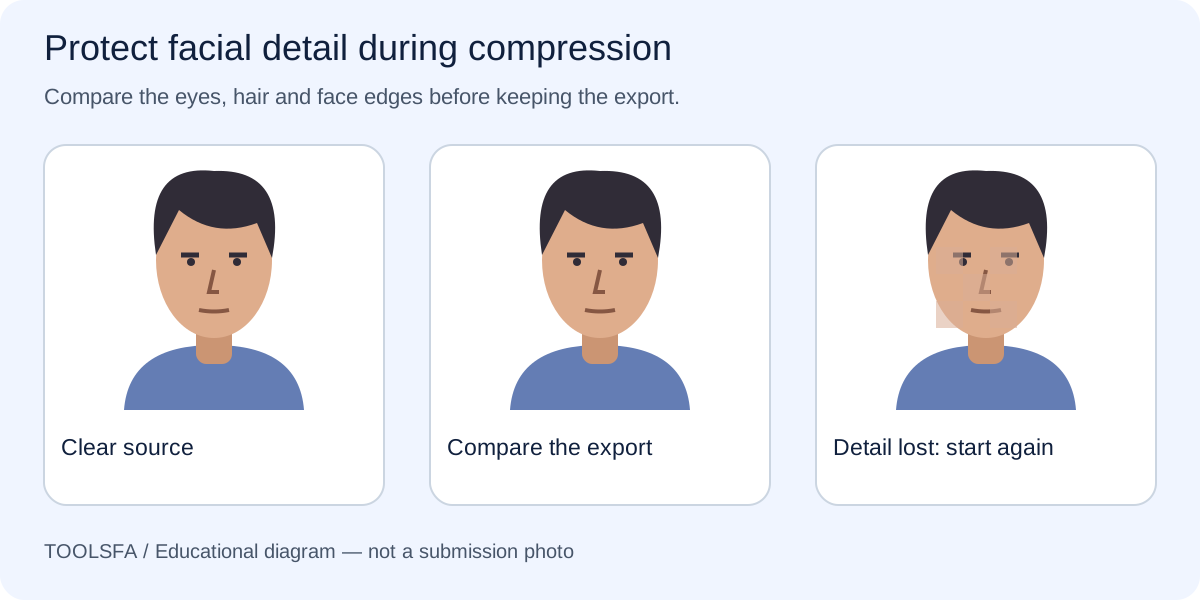
Open the full-resolution camera file and the final JPEG side by side. Inspect the eyes and the outline of the face. If the original is clear and the export is not, the capture may be usable and the export process needs attention.
Check that the original is a downloaded file rather than a temporary cloud thumbnail. A picture can look sharp in a small phone preview simply because the screen hides its missing detail.
If the original is clear but the saved copy differs, revisit the JPEG conversion steps to check the export.
Recognize focus and motion problems
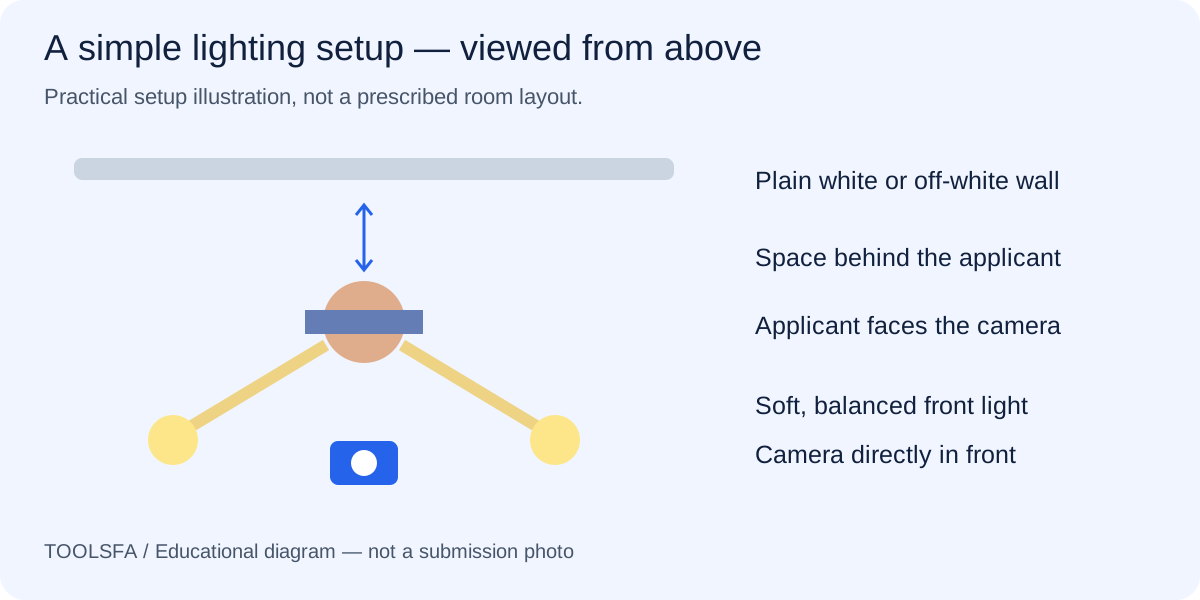
Focus blur tends to soften edges broadly; motion can leave directional smears or double outlines. Clean the lens, stabilize the camera and tap the face to focus before taking another frame. Give the person time to settle rather than shooting while they move into position.
Use enough soft light for a clear capture. For a child, take several separate frames and select one with a still face. Do not merge eyes or facial parts from different pictures. If a room is dim, improving the light is often more useful than sharpening the result.
To improve the capture, follow the lighting setup guide before taking another frame.
Recognize damaged copies
Large square patches and rough edges can indicate heavy compression or a very small source enlarged for export. A chat service or screenshot may have introduced the problem even if the camera produced a good original.
Request the original file transfer and export again from that source. Upsizing a tiny portrait increases its pixel count but does not restore the captured facial detail. Review compression only after you have a sufficiently clear source.
If detail was lost during export, use the compression guide from the original.
Avoid artificial facial reconstruction
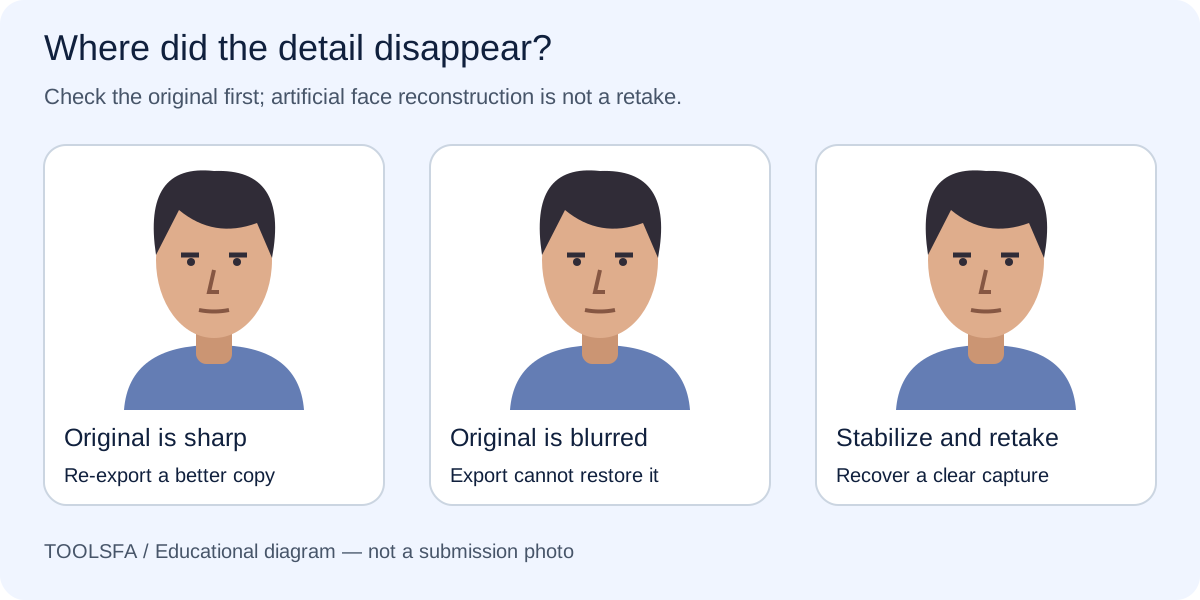
AI enhancement, face restoration and aggressive smoothing can make a portrait appear cleaner while changing features or inventing texture. That is not a reliable way to recover a submission photograph.
Retake when the original does not clearly show the face. Use the home setup and lighting guides to solve the capture problem, then inspect the final crop. An automated sharpness estimate can flag a concern, but cannot certify that the image faithfully represents the person.
Official sources
Always check the instructions for the program year in which you apply. ToolsFA is independent and is not affiliated with the U.S. government.