Compress a DV photo
Compress a DV Photo Without Losing Important Detail
A smaller file is not necessarily a better submission photo. The goal is a JPEG that meets the upload limit while retaining the detail needed to review the face.
Reviewed against U.S. Department of State photo guidance · September 14, 2026
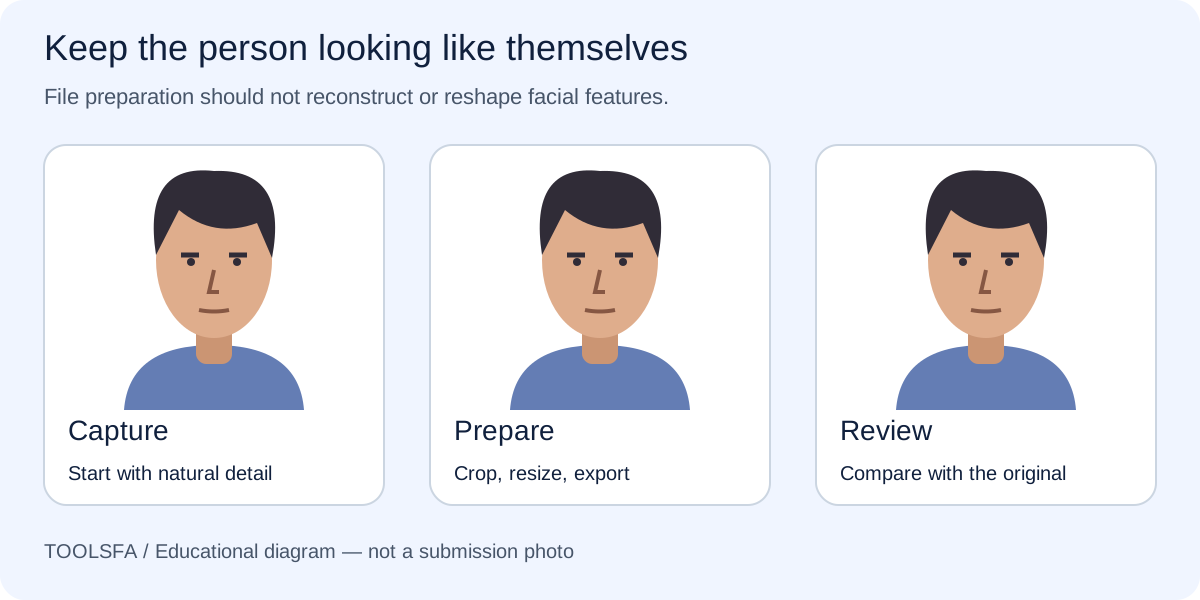
Practical review checklist
| Check | Action | Why it matters |
|---|---|---|
| Canvas | Finish dimensions first | Do not reduce below the required size |
| Quality | Adjust from the source | Compare after each export |
| Detail | Clear eyes and facial edges | Look for blocks and smearing |
| Original is blurred | Retake | Compression cannot restore focus |
On smaller screens, swipe horizontally to see every column.
Separate dimensions from file size
Dimensions describe the image grid; file size describes how many bytes store it. Two images with identical dimensions can have different file sizes because the scene and compression settings differ. A noisy background may take more data than a smooth one.
Use the linked size guide to finish the canvas first. Compressing a large camera image before resizing makes the process harder to judge. Reducing the dimensions below the required size is not a substitute for a suitable JPEG export.
Confirm the target canvas and byte limit in the DV photo size guide before changing JPEG quality.
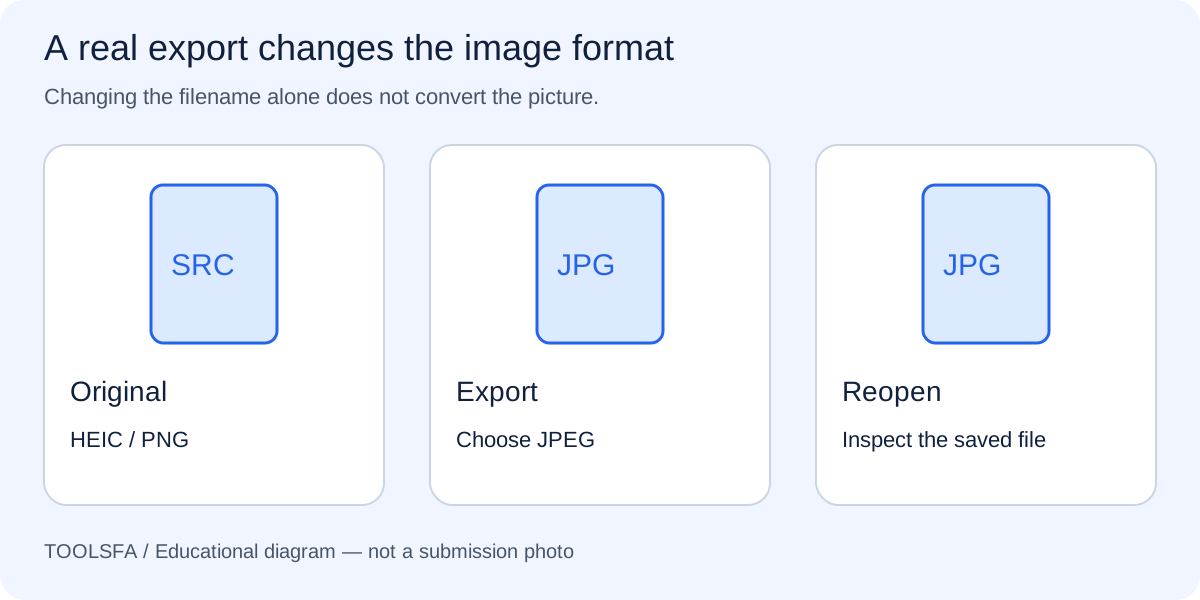
Use a controlled export sequence
Keep the uncompressed source or your original camera file. Export a correctly framed JPEG and inspect the saved file size. If it is too large, return to the source and try a modestly lower quality setting.
JPEG quality sliders are not universal: 85 in one application may differ from 85 in another. There is no percentage that guarantees an acceptable result for every portrait. Adjust based on the actual file, and do not try to make it as small as possible.
Inspect eyes, hair and edges
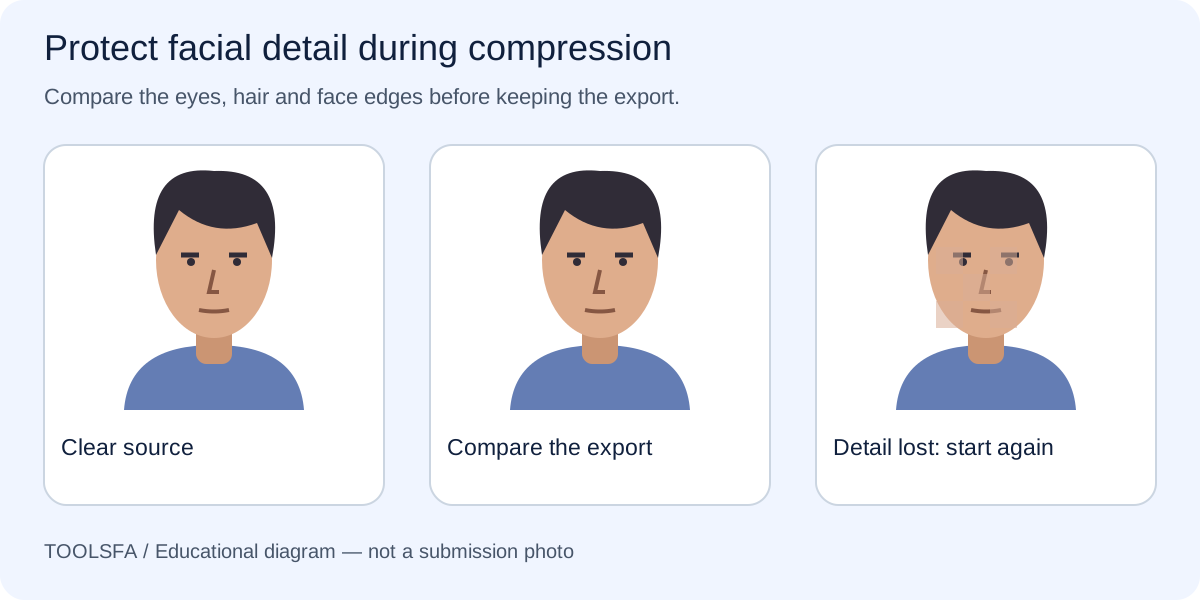
Open the result at actual size and compare it with the original crop. Look for blocky patches near the eyes, smeared hair, jagged facial edges or obvious rings around contrasting boundaries. Enlarging the preview can help you locate artifacts, but also check its normal display size.
If facial detail breaks down before the file reaches the target, start again from a better original. Repeatedly saving an already compressed copy can compound the damage. A smaller filename counter does not mean the image is improving.
If the original is also soft, consult the blur diagnosis guide before exporting again.
Know when a retake is the better fix
Compression does not fix focus, motion blur or a shadowed face. A brighter, evenly lit retake may contain cleaner detail and need less aggressive processing than a dark, noisy photograph.
After export, recheck dimensions as well as size: some applications change both together. Finally inspect the same downloaded JPEG you will select for upload. Passing a byte limit is a technical check, not a decision about the portrait’s acceptability.
For a non-JPEG source, follow the format conversion guide first.
Official sources
Always check the instructions for the program year in which you apply. ToolsFA is independent and is not affiliated with the U.S. government.