HEIC and PNG to JPEG
Convert HEIC or PNG to JPEG for a DV Lottery Photo
A photo can look normal on your phone and still be saved in a format the DV entry form does not accept. The useful question is what the exported file contains, not what its filename says.
Reviewed against U.S. Department of State photo guidance · September 14, 2026
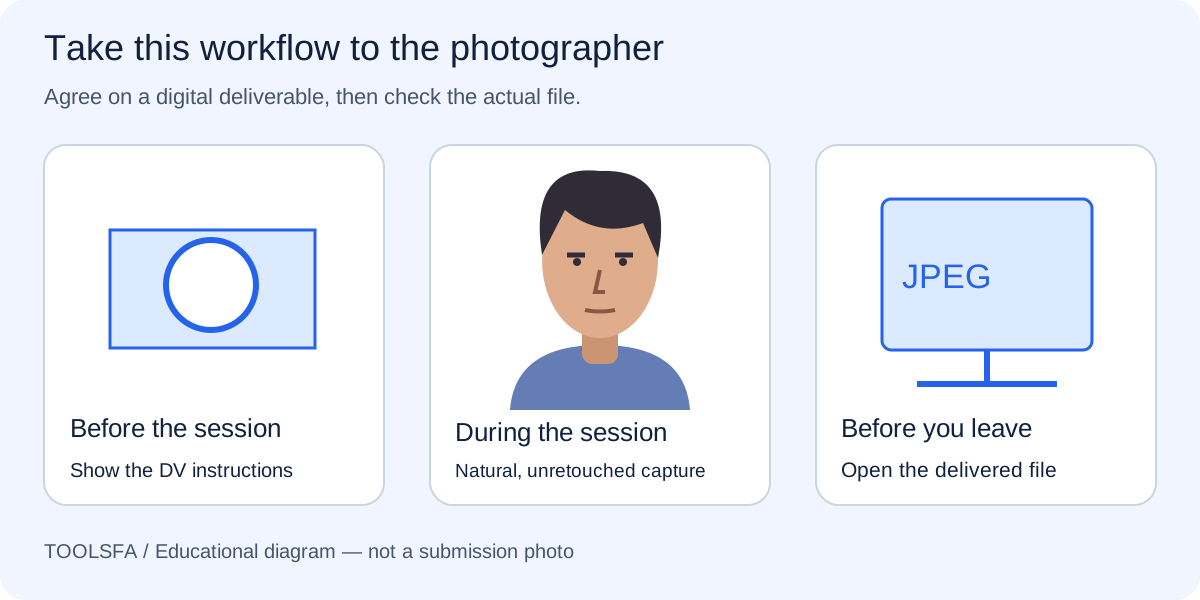
Practical review checklist
| Check | Action | Why it matters |
|---|---|---|
| Source | Original camera file | Avoid screenshots and chat previews |
| Conversion | Export JPEG | Renaming does not change encoding |
| Orientation | Upright saved portrait | Reopen outside the editor |
| Final review | Inspect the delivered copy | Check crop, color and file properties |
On smaller screens, swipe horizontally to see every column.
Find the original before converting
Open the picture in your photo library and look at its file information. A phone may store a HEIC image even when a shared preview looks like an ordinary photograph. Download the full original if the library only has a cloud preview on the device.
Keep that original in a separate folder. A screenshot, chat attachment or social-media download may already have been resized or compressed. Converting that copy cannot recover the detail discarded earlier.
For better phone capture, use the phone photography guide before converting.
Export the image rather than rename it
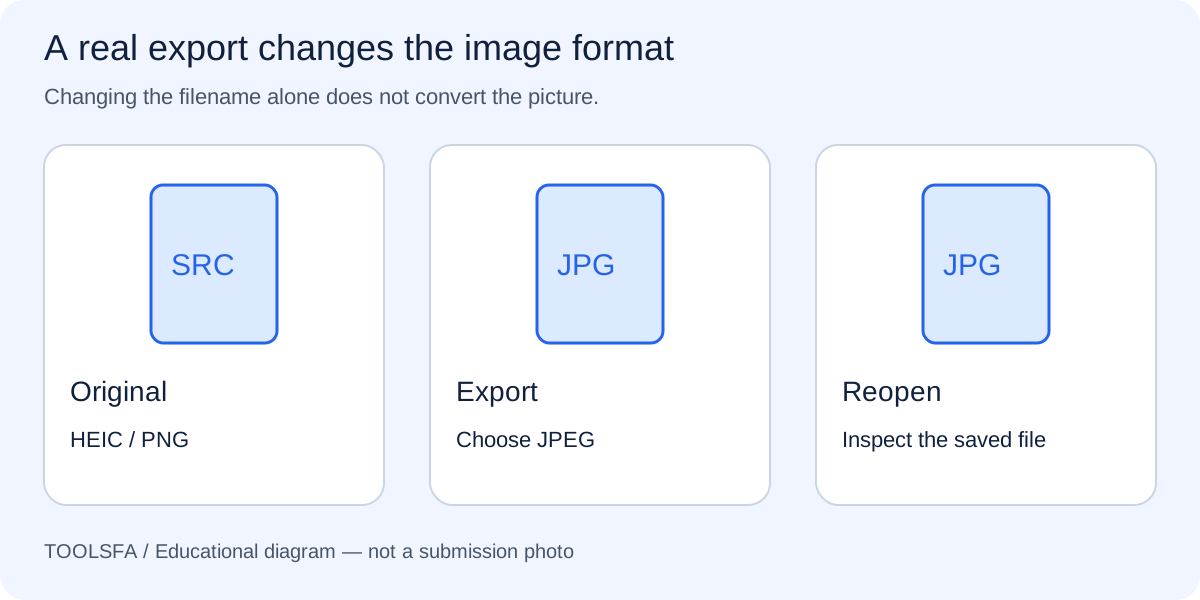
Use an editor or photo application that can open the source format and explicitly export JPEG. If a browser tool cannot open HEIC, export a JPEG through a compatible photo application first. Changing .heic or .png to .jpg is only a filename change.
Save the new file under a distinct name such as applicant-photo-final.jpg. JPG and JPEG extensions commonly identify the same image format; the file itself still needs to be encoded correctly. Do not use a PDF export or a screenshot of the editor.
If a genuine JPEG still fails to upload, follow the upload troubleshooting guide to separate file and browser issues.
Check orientation and color after export
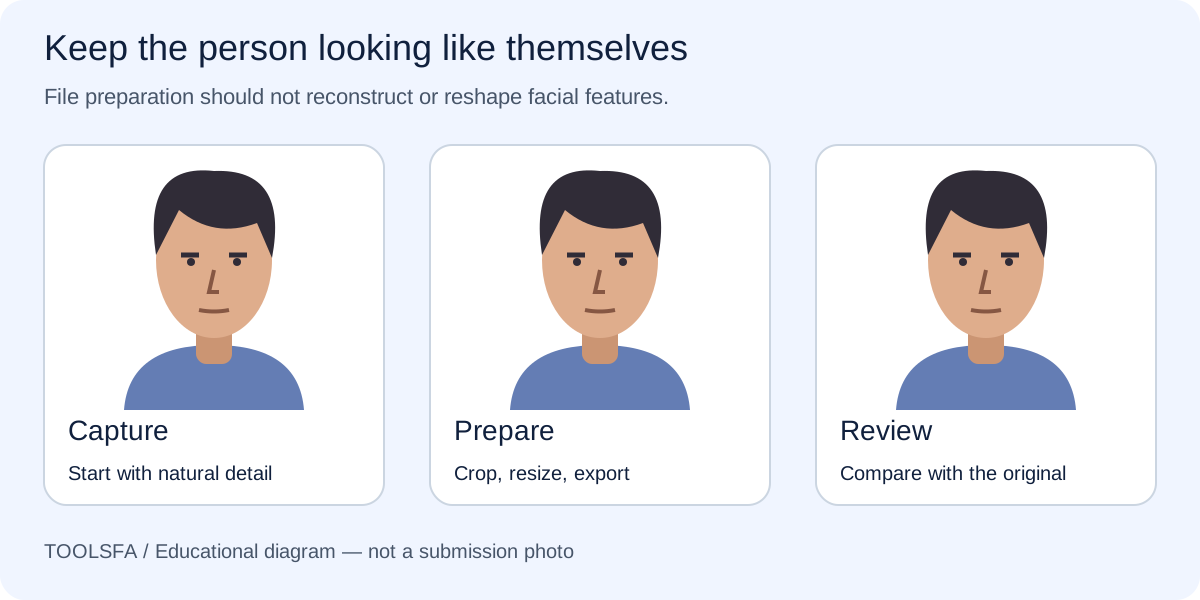
Reopen the exported file outside the editor. A preview can display orientation information differently from another application, so confirm the head is upright in the actual saved image. Compare the face with the source and watch for unexpected color changes.
Keep the portrait in color. Avoid filters, automatic skin smoothing and portrait-background effects. If the export looks rotated or has altered facial detail, return to the original and correct the export settings before continuing.
Finish the crop and file-size check
Conversion alone does not establish correct framing. Make the square crop around the person, then check the composition in the finished image. Use the linked size guide for the DV-specific dimensions and file limit.
Check the final copy, not another file with a similar name. Open the Downloads folder, confirm its dimensions and size, and preview it once more. Keep only one clearly named submission copy alongside the untouched original to reduce selection mistakes.
If the correctly sized export is too large, use the compression guide and preserve facial detail.
Official sources
Always check the instructions for the program year in which you apply. ToolsFA is independent and is not affiliated with the U.S. government.