Home photo guide
How to Take a DV Lottery Photo at Home
You can take a usable DV Lottery photo at home when you control the background, lighting, camera position and framing. The goal is a natural, evenly lit portrait—not a polished social-media image.
Reviewed against U.S. Department of State photo guidance · September 12, 2026
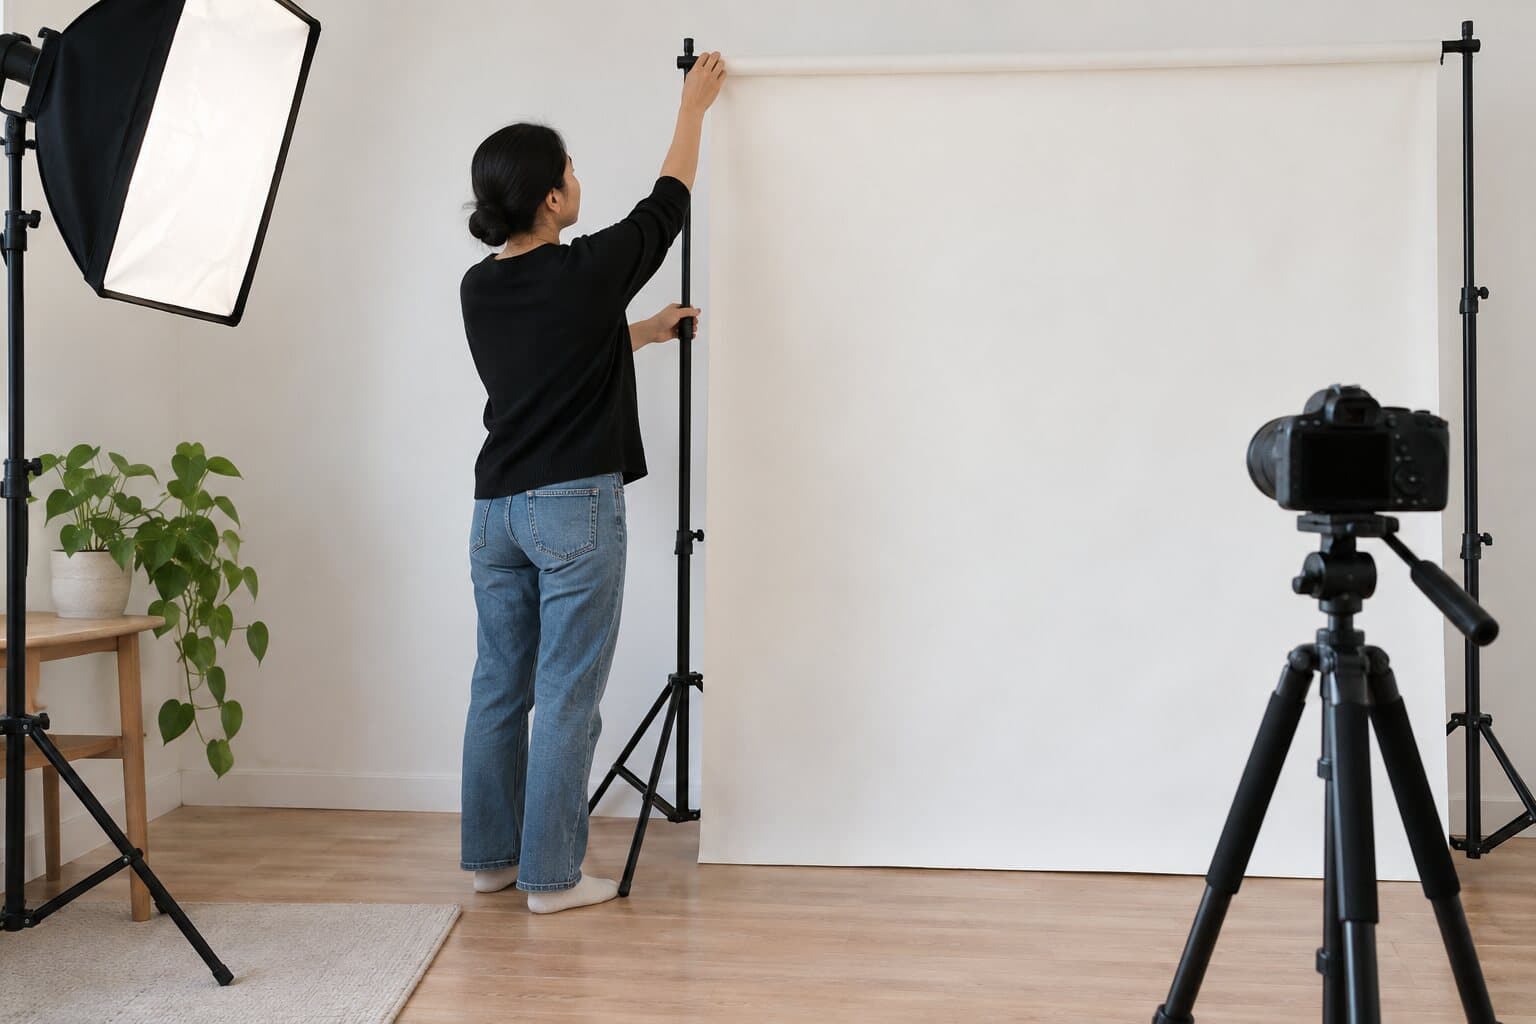
Home photo setup checklist
| Setup item | Better choice | Avoid |
|---|---|---|
| Background | Smooth white or off-white wall | Patterns, doors, furniture or visible folds |
| Lighting | Soft, balanced light from the front | Single hard flash or strong overhead shadow |
| Camera | Eye level and several feet away | Low angle, high angle or close selfie |
| Applicant | Straight posture and neutral expression | Tilted head, turned face or exaggerated smile |
| Original file | Sharp, full-resolution color photo | Screenshot or messaging-app copy |
On smaller screens, swipe horizontally to see every column.
Prepare a simple background
Choose a clean white or off-white wall without texture, artwork, doors or furniture in the frame. Stand far enough away from the wall to reduce the shadow behind your head and shoulders.
If the wall is not suitable, use a smooth light-colored backdrop. Remove folds and make sure the material fills the entire frame. A real, evenly lit background is safer than digitally replacing a distracting background afterward.
Set up soft, even lighting
Face a large window with indirect daylight, or place two similar lamps in front of you at roughly equal angles. The face should be clear without a bright side and a dark side.
Avoid direct overhead light, strong sunlight, and a single flash close to the camera. These can create harsh shadows under the eyes, nose or chin and may also cast a visible outline on the wall.
- Turn off beauty mode, portrait blur and automatic filters.
- Clean the camera lens before shooting.
- Avoid mixed lighting colors from a window and warm indoor lamps.
- Check the photograph at full size for blur and compression artifacts.
Position the camera and applicant
Place the camera at the applicant's eye level and keep it straight. Have another person take the photo from several feet away rather than using an arm's-length selfie. A little distance reduces wide-angle facial distortion and makes framing easier.
Look directly into the lens, keep the head level, open both eyes and use a neutral expression. Include the full head and upper shoulders, with enough extra space to crop the image accurately later.
Choose the best original before cropping
Take several photographs without changing the setup. Select one that is sharp, evenly exposed and naturally colored, with no hair or head covering cut off by the original frame.
Upload that original to the ToolsFA checker. If the crop or file properties need correction, create a separate 600×600 JPEG and inspect the finished file before using it for an entry.
Important: Cropping, resizing and ordinary compression are different from retouching a face or fabricating a new background. If the original photo has a visible-content problem, retake it.
Official sources
Always check the instructions for the program year in which you apply. ToolsFA is independent and is not affiliated with the U.S. government.