Scan a printed photo
Scan a Printed Photo for the DV Lottery: Step-by-Step
If you already have a suitable recent print, scanning can produce a digital copy. The print must be appropriate first: a scanner cannot correct old appearance, poor focus or incorrect composition.
Reviewed against U.S. Department of State photo guidance · September 14, 2026
Practical review checklist
| Check | Action | Why it matters |
|---|---|---|
| Suitable 2 × 2 inch photograph | Do not scan an identity document | |
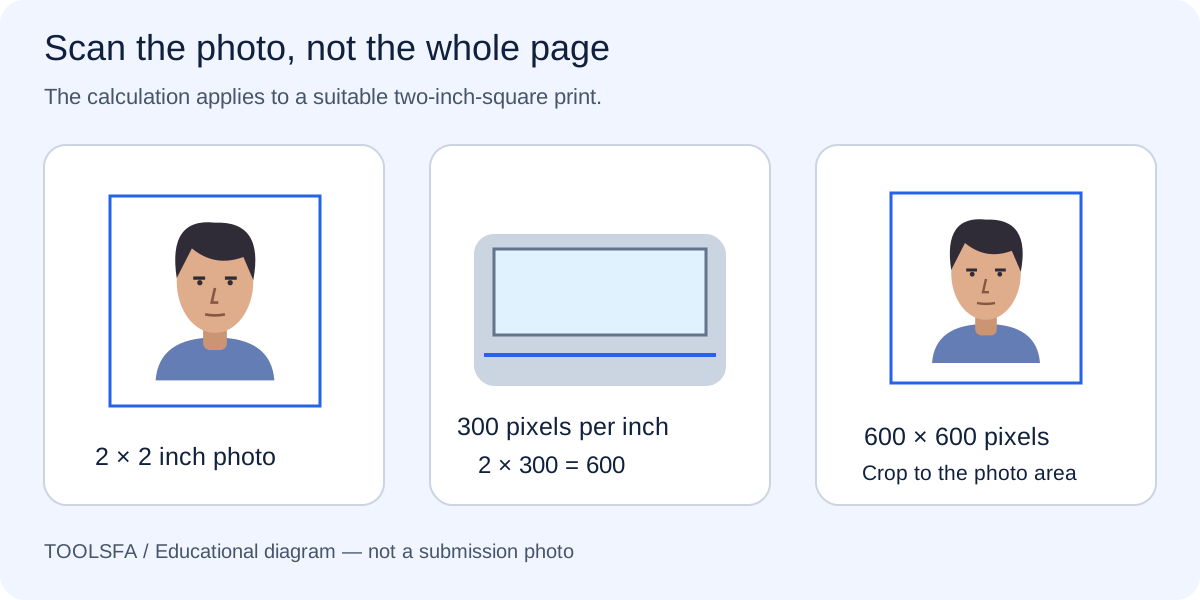
| Resolution | 300 pixels per inch | 2 inches × 300 = 600 pixels |
| Scan area | Photograph edges | Exclude the rest of the scanner bed |
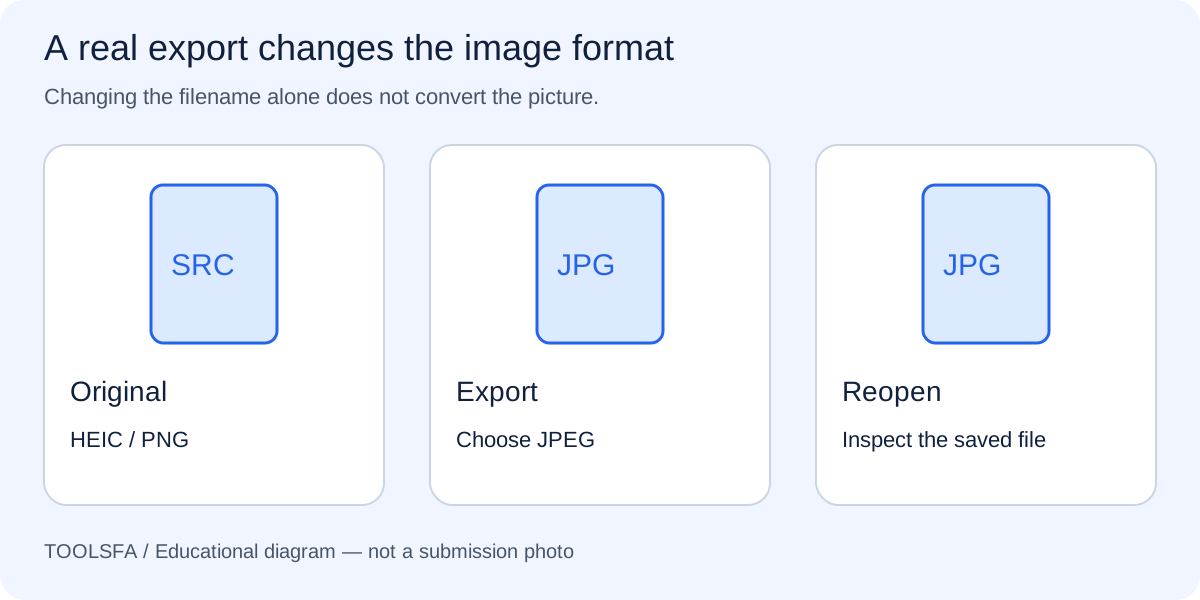
| Export | Color JPEG | Inspect the saved crop |
On smaller screens, swipe horizontally to see every column.
Check the print before scanning
The Department of State’s DV guidance specifies a 2 × 2 inch photo scanned at 300 pixels per inch. Check the current official instructions before relying on a print prepared for a different document.
Use the photographic print itself. A photo copied from an identity document brings document edges, print patterns and image-quality problems into the scan. If the photographer still has the original digital file, ask for it; that can avoid an unnecessary print-and-scan generation.
If the original digital file is available, use the photographer handover checklist to request it.
Understand what 300 pixels per inch produces
For a two-inch edge, 300 pixels per inch produces 600 pixels: 2 multiplied by 300 equals 600. The calculation refers to the photo area, not the whole scanner bed. A full-page scan with a tiny photo in one corner is a different image.
Some scanners label the setting DPI. Check the exported pixel dimensions to verify the result. Merely changing a resolution label after scanning does not add real detail to a low-resolution source.
Then confirm the finished dimensions using the DV image-size guide.
Prepare the scanner and turn off enhancements
Clean the glass and place the print flat according to the scanner instructions. Preview the scan and select the edges of the photograph without including the surrounding bed. Keep the photo straight so you do not need a major corrective rotation later.
Use color scanning and avoid beauty, restoration or automatic retouching options. If dust appears in the preview, clean the glass or print carefully and scan again. Do not paint out marks that overlap the face or use reconstruction tools to invent detail.
Inspect and export the photo area
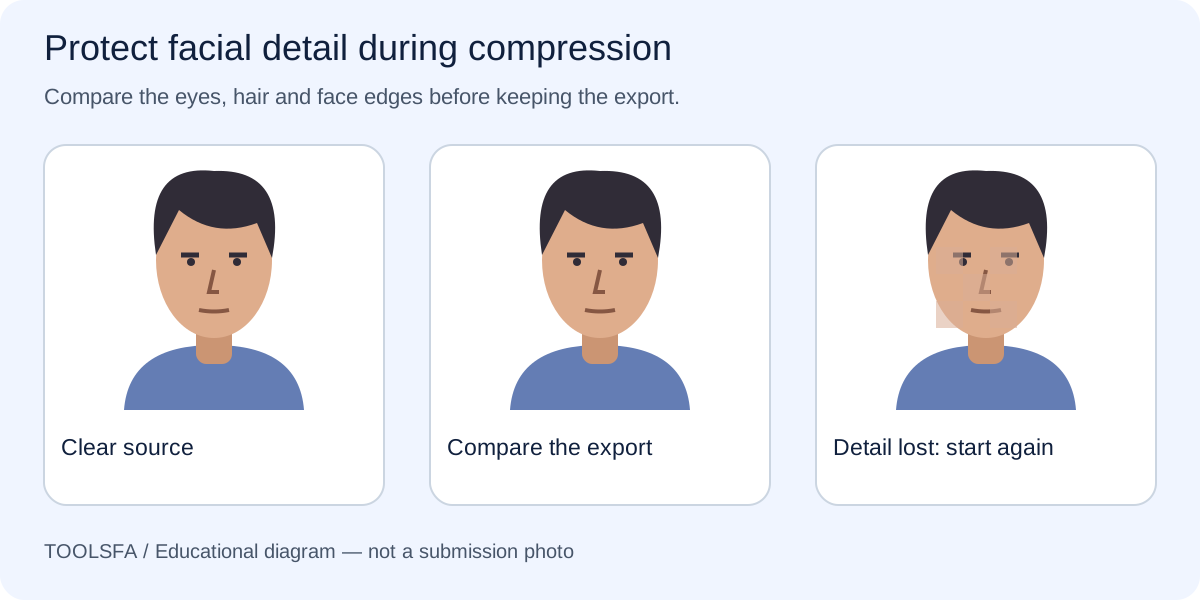
Open the scan and inspect for glare, streaks, clipped edges and visible print texture. Re-scan if the face looks less clear than the print. If the print itself is poor, obtaining a new photo is more useful than repeatedly sharpening the scan.
Save a genuine JPEG of the photo area, then check the final dimensions, composition and file size. Keep the scan master separately. A scanner’s default PDF or full-page image is not the finished DV upload file.
To reduce an oversized scan export, follow the compression guide and compare against the scan master.
Official sources
Always check the instructions for the program year in which you apply. ToolsFA is independent and is not affiliated with the U.S. government.